
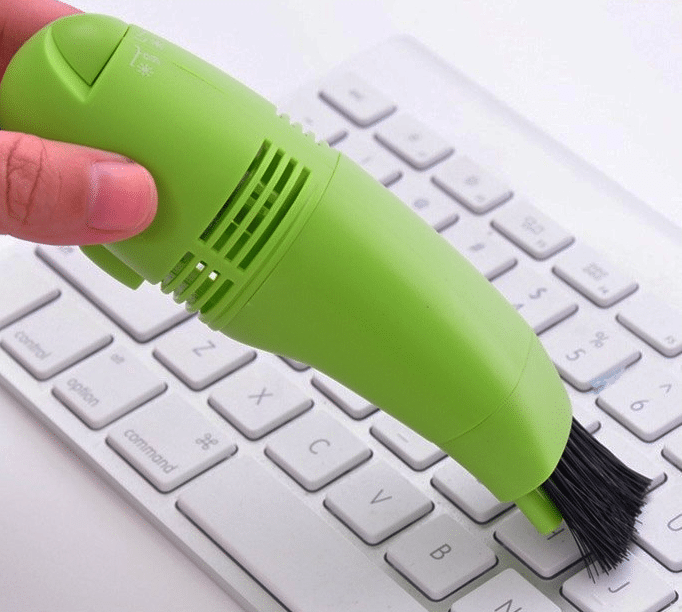
The best and safest way to clean a mechanical keyboard is with a microfiber cloth and some gentle cleaning liquid. You can also use an air gun or vacuum cleaner, this is effective at removing crumbs and dust from keyboards. Keys can also be removed with a keycap puller tool and then cleaned individually with soapy water.
Mechanical keyboard cleaning is an absolute necessity even if you don’t use your keyboard day in and day out. Because the keyboard of your PC or laptop comes in contact with your fingers, oil and other substances from your fingertips very often collect on the keys and can pile up if they are not cleaned.
Also, if you are the kind of person who eats while working on your laptop or PC, crumbs or droplets from what you are eating or drinking can very easily make their way to your device. And in some circumstances, your food or drink can fall onto or spill on your device if you aren’t careful.
Also, if other people in your office or household share your device, it can become a vector for transmission of diseases if you do not keep it sanitary.The following are ways on how to clean your mechanical keyboard.
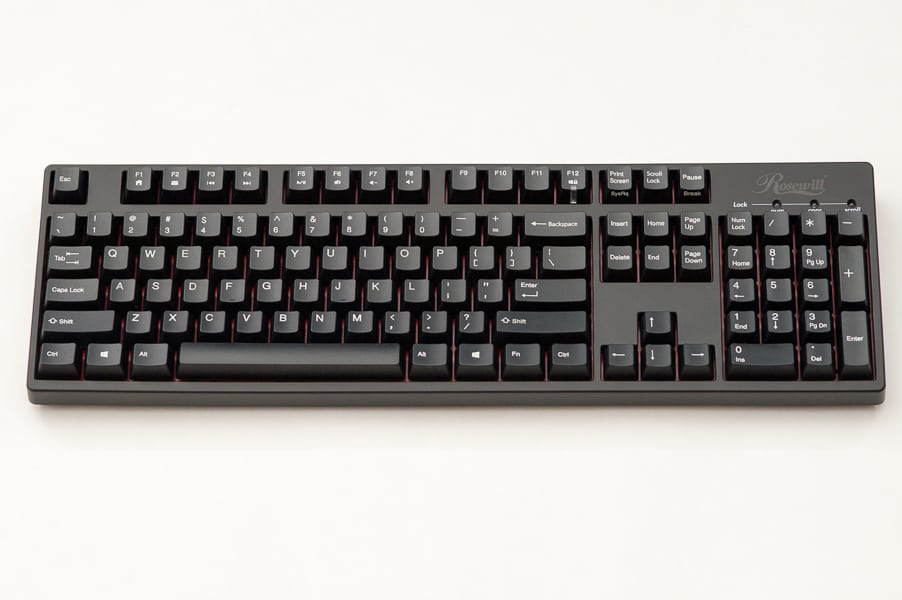
How To Clean Your Mechanical Keyboard
There are two basic sorts of Mechanical keyboard cleaning – light and thorough. Light cleaning can be done once or twice a week depending on usage, while thorough cleaning can be done around every three months or so. For any cleaning, you are going to need a dry dust cloth, cotton buds, a cleaning fluid like rubbing or household alcohol or any of the special fluids for cleaning computers or electronic equipment, a screwdriver, and, if you like, a vacuum cleaner.
See Also: Best cheap mechanical keyboards for gaming
Start by unplugging your keyboard from your PC if you are cleaning a PC (if it is a laptop you are cleaning, just disconnect the adapter from your mains and remove the battery to prevent electric shock). Now pick up the keyboard or laptop, turn it upside down over a trash can, and provide it a good shake to remove any dirt that may be on it. Place it back down and then pick up your cotton buds.
Moisten the ends of the cotton buds with the cleaning fluid and then run the moist ends in between the keys and along the edges. Just throw out the bud when it gets too dirty to pick up any more dirt and ready a new one.
Now pick up your dry dust cloth and moisten it with the cleaning fluid. (Don’t put too much.) Run the dust-cloth all over the keyboard, paying special attention to the keys and wherever else your fingers or palms usually rest. Use a dry surface of the cloth to wipe up any extra moisture or fluid when you’re done, and don’t forget to give the cloth a rinse and hang it up to dry afterward.
Materials Needed To Clean a Mechanical Keyboard:
- 1 cue-tip per couple of keyboard keys
- A glass of water
- A small thin object used as leverage to pop off the laptop key (pocket-knife, car key, etc.)
Directions:
Make sure your computer is off when working with the hardware. Normally, pouring liquid onto just your keyboard is not that harmful, but since it is a laptop, the liquid could seep into more critical components of your computer and cause harm to your computer and possibly yourself.
Take the pocket-knife and wedge it in between the sticky key and the base of the keyboard. Your fingernail can also be used as a wedge of it is long enough. Mine are not. You can pop off and clean more than one at a time, just be sure of the keyboard’s layout, so you do not get confused when replacing the laptop keys.
Lift up with the pocket-knife and pop off the key. It might take a little more force than you feel comfortable with, but that is OK. Most keyboard keys are fastened kind of tightly by two very small pieces of plastic and 2 indentations in the key socket. They also tend to be much flatter than a normal mechanical keyboard’s keys, hence the need for a pocket-knife.
Touch the end of a cue-tip to the water ever so slightly. You just want it to be damp – not dripping.
Fun Fact: Most electronic devices will be fine if you splash water on them as long as they are totally dry before power is turned back on.
Use the cue-tip to clean the underside of the laptop key, the laptop key socket, and the area directly around the socket. The cue-tip makes sure that you lift up all of the stickiness that might be hiding in small places.
Replace the key you just cleaned, and press it a few times to make sure it works properly.
Repeat steps 5 and 6 until your laptop no longer has sticky keys.
Lastly, if you would like a more thorough cleaning, you can use the screwdriver to dislodge each of the keys. Just ease the edge of the screwdriver under the base of each key and gently ease the key out. (Make sure you know where to replace each key when you’re done!) Soak your cloth in the cleaning fluid, clean each key very thoroughly, and leave them to dry.
Now pick up your vacuum cleaner, if you want to use one, and use it to vacuum away any dirt particles. You can also use the cloth and fluid to clean the base of the keyboard after you are done vacuuming. Set everything aside, and you can put it all back together when it has dried completely.